
Enter Project Details
Results update live as you type. Mixed units welcome.
 12 feet
8 feet
5 inch face
Horizontal
Results
Coverage
Layout
Fasteners
Finishing
Calculation Assumptions
What You Get
- ✓Free — no sign-up, nothing to install
- ✓Live results as you type
- ✓Board count from exposed face width, not nominal
- ✓Horizontal, vertical & ceiling orientations
- ✓1×4 to 1×12 presets with editable reveal
- ✓Window & door openings deducted
- ✓Rows, boards per row & last-course trim width
- ✓Linear feet: net coverage vs ordered
- ✓Fastener estimate from stud spacing
- ✓Cost per board, linear foot, or square foot
- ✓Multi-wall rooms — identical walls counted at once
- ✓Feet, inches, cm, meters & yards — mix any units
- ✓Export a PDF takeoff in one click
- ✓Shareable link that saves your inputs
- ✓Works on phone, tablet & desktop
ON THIS PAGE:
How the Shiplap Math Works
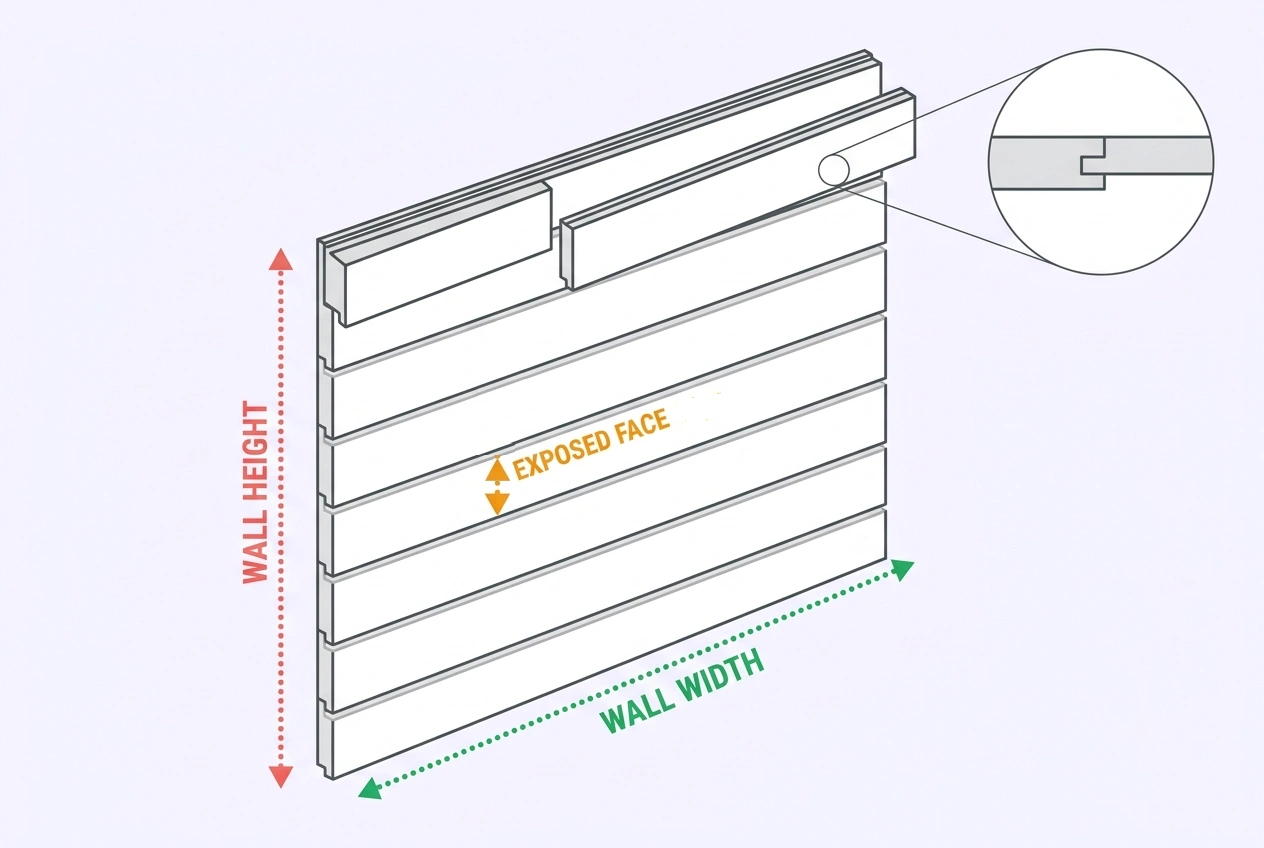
The mistake behind almost every short order is sizing shiplap from its name instead of its profile. A “1×6” board is not 6 inches wide — it is milled to about 5½ inches, and once each board laps the rabbeted edge of the one below it, the visible strip is closer to 5 inches. That visible strip is the exposed face, and it is the only dimension that covers the wall. The calculator works from it in three steps:
coverage / board = exposed face (ft) × board length (ft)
net area = (width × height × walls) − openings
boards = ceil( net area × (1 + waste%) ÷ coverage )
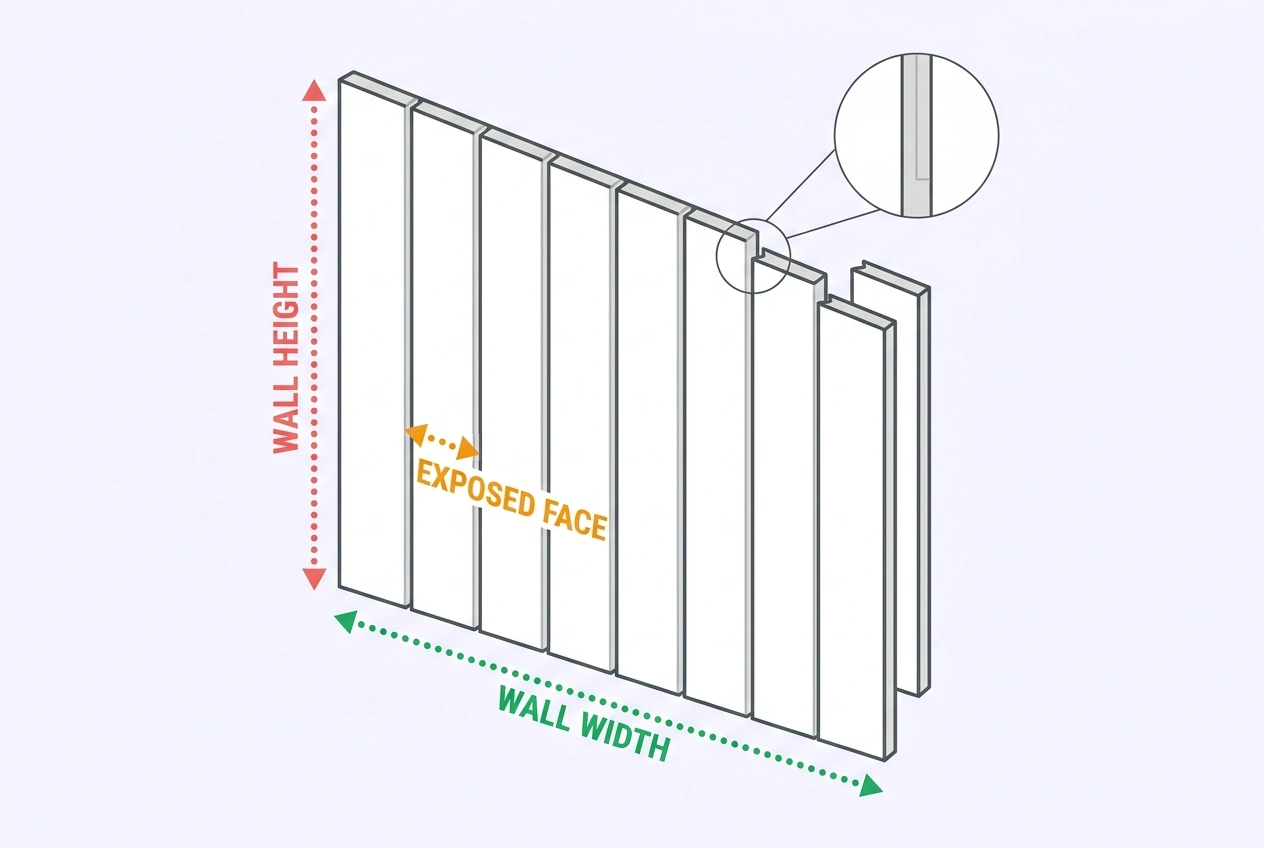
Rows come from the same face width: a horizontal run divides the wall height by the exposed face, so an 8-foot wall in 5-inch shiplap stacks 19 full courses plus a rip-cut top row. Vertical runs divide the width by the face instead and stack boards up each column — a change of direction that also changes the waste profile, because every vertical end joint must land on a stud.
Linear footage is the board-count view of the same math: net area times 12 divided by the face width in inches gives the total running length of board face the wall needs. Comparing that figure with what your order actually contains (boards times stock length) tells you exactly how much margin the waste percentage and the round-up added — useful when a supplier sells by the linear foot rather than by the piece.
Board Sizes & Coverage: Nominal vs Actual vs Exposed
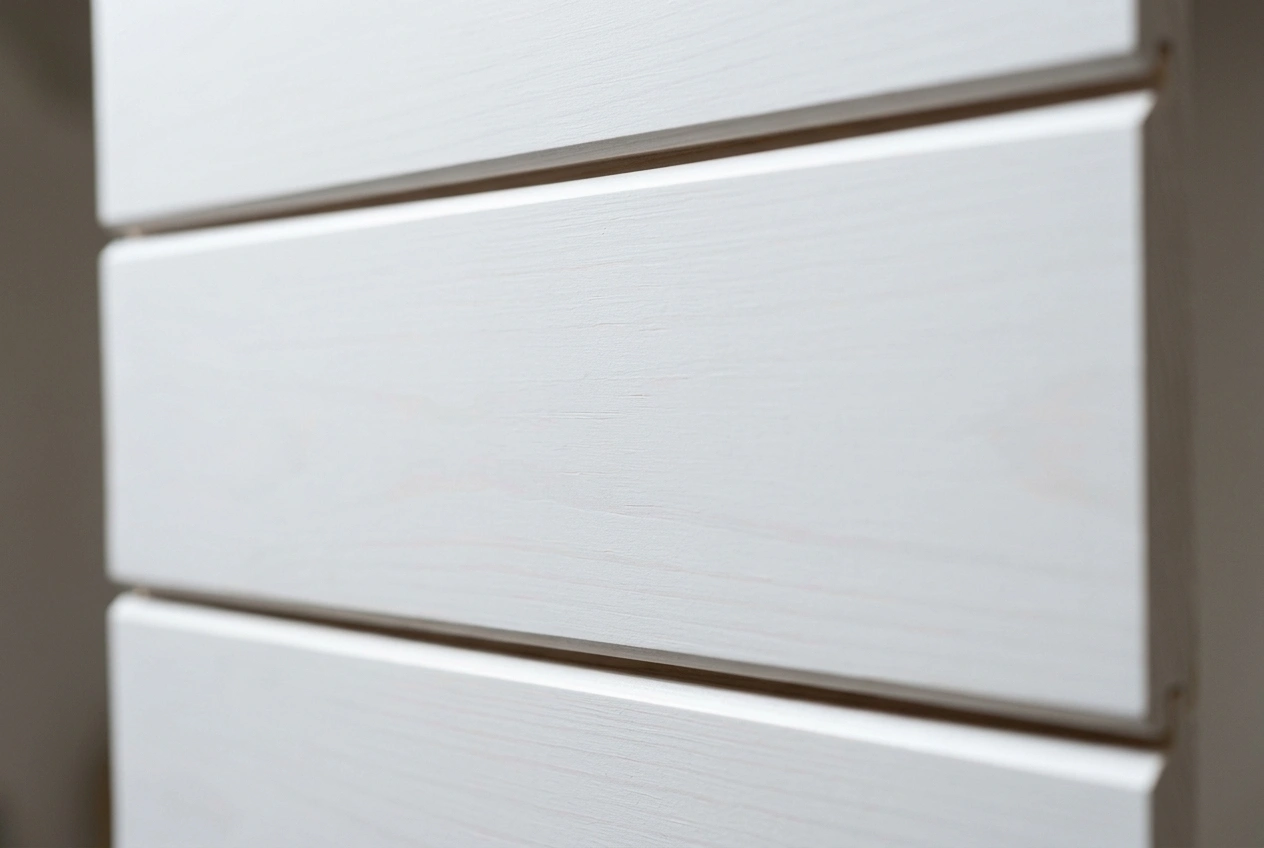
Shiplap is sold by its nominal name but covers by its exposed face, and the gap between the two is bigger than most people expect. The table below lists the common stock sizes with the typical exposed face for a standard rabbet profile — about a half inch of lap. Measure your actual boards or check the pattern number if your profile differs, then set the exposed face field in the calculator to match:
| Nominal | Actual Width | Typical Exposed Face | 8 ft Board Covers | Boards per 100 ft² |
|---|---|---|---|---|
| 1×4 | 3½ in | 3 in | 2.0 ft² | 50 boards |
| 1×6 | 5½ in | 5 in | 3.33 ft² | 30 boards |
| 1×8 | 7¼ in | 6¾ in | 4.5 ft² | 23 boards |
| 1×10 | 9¼ in | 8¾ in | 5.83 ft² | 18 boards |
| 1×12 | 11¼ in | 10¾ in | 7.17 ft² | 14 boards |
Two profile variations move these numbers. Nickel-gap shiplap is milled to leave a deliberate ¼-inch shadow line between courses, so a 1×6 covers about 5¼ inches per course rather than 5 — a 5% difference across a whole wall. Deeper rabbets on some exterior patterns subtract as much as ¾ of an inch per lap. None of this is guesswork you have to absorb: measure one installed course or read the pattern spec, and type the exposed face directly into the calculator.
Thickness barely enters the count — 5/8-inch, 3/4-inch, and thicker porch-grade boards of the same width cover identically — but it does enter the price, the rigidity of a ceiling run, and whether a board can span between studs on a vertical installation without telegraphing.
Horizontal vs Vertical vs Ceiling
The board count barely changes with direction — the area is the area — but the layout arithmetic, the waste profile, and the fastener count all do:
| Aspect | Horizontal | Vertical | Ceiling |
|---|---|---|---|
| Rows come from | Wall height ÷ face | Wall width ÷ face | Ceiling width ÷ face |
| End joints land on | Studs anywhere in the course | Every board end on a stud | Joists anywhere in the course |
| Typical waste | 10% | 15–20% | 10–15% |
| Visual effect | Widens the room | Heightens the room | Adds warmth and direction |
| Watch out for | Level first course | Plumb layout, stud alignment | Joist sag — use thicker stock |
Vertical runs are the reason the waste slider matters more than people expect: a vertical board that lands its end joint mid-stud is cut again, and again, and the offcuts pile up faster than horizontal staggering ever produces. Installers also select board lengths differently by direction — a 16-foot board is a gift on a 16-foot horizontal wall and nearly useless in an 8-foot vertical run, where 8 and 10-foot stock breaks far cleaner.
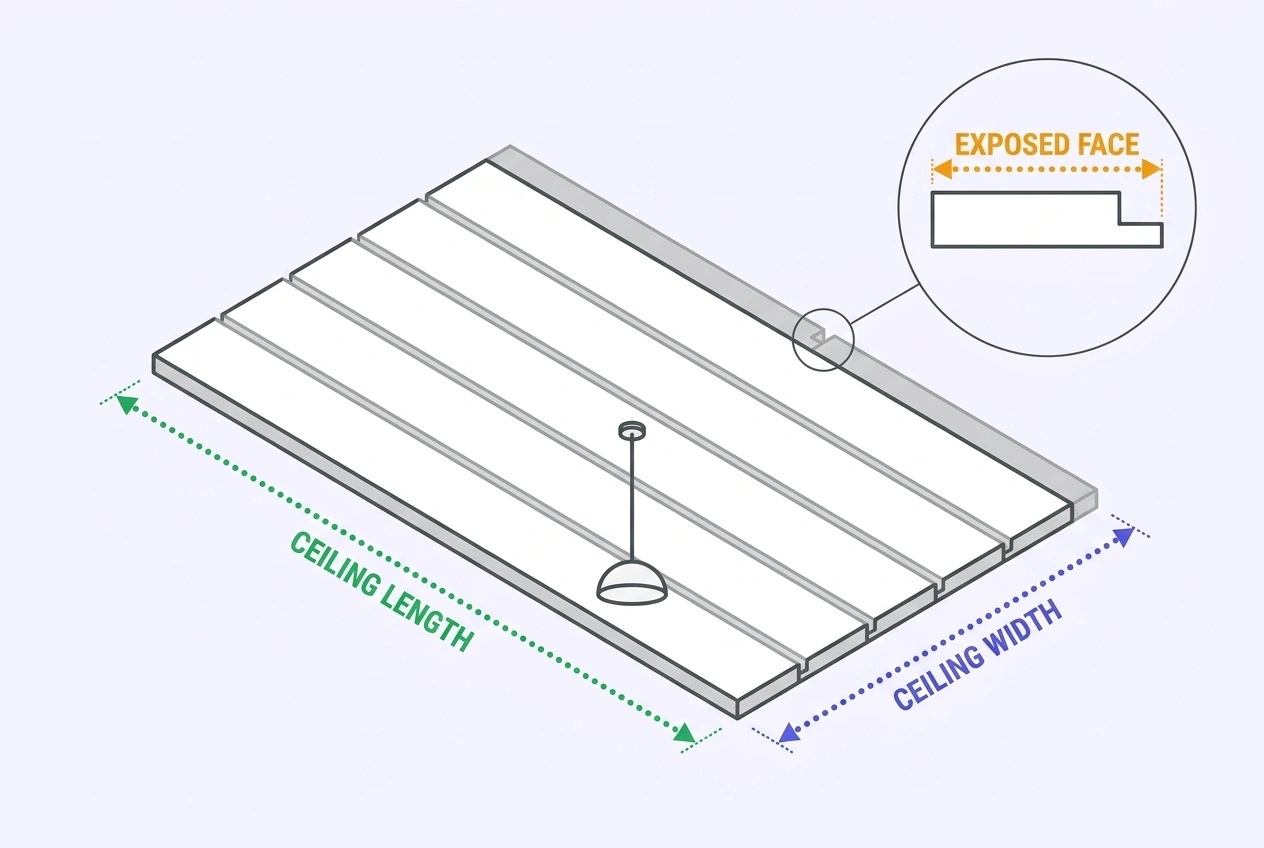
Ceilings run like horizontal walls laid overhead, with one difference: the framing is joists, usually 16 inches on center but sometimes 24, and sag between joists telegraphs down the face of thin boards. Most ceiling work steps up to thicker stock or adds furring, and the fastener estimate should include a screw or nail into every joist crossing rather than the wall pattern alone.
Worked Example
Here is the full calculation for the calculator's own defaults — a 12 × 8 foot accent wall, horizontal 1×6 shiplap with a 5-inch exposed face, 8-foot stock, and a 10% waste allowance:
| Step | Calculation | Result |
|---|---|---|
| Gross wall area | 12 × 8 | 96 ft² |
| Board coverage | 5 in ÷ 12 × 8 ft | 3.33 ft² per board |
| Exact boards needed | 96 ÷ 3.33 | 28.8 boards |
| With 10% waste | 28.8 × 1.10 | 31.7 → 32 boards |
| Rows (courses) | 8 ft ÷ 5 in = 19.2 | 19 full + 0.2 trim |
| Last course trim | 0.2 × 5 in | rip to 1 in |
| Boards per row | 12 ÷ 8 ft stock | 2 boards (staggered) |
| Linear feet ordered | 32 × 8 ft | 256 lin ft |
| Fasteners | 2 × 10 stud lines × 20 rows | 400 nails |
| Cost at $12/board | 32 × $12 | $384.00 |
The reverse check: 256 linear feet ordered versus 230 linear feet of net coverage (96 ft² × 12 ÷ 5 in) — the 26 running feet of surplus is exactly the 10% waste margin plus the round-up, made visible. If a supplier quotes by the linear foot instead of by the piece, that 230-foot net figure is the number to compare against, not the board count.
Cost & Buying Guide
Shiplap pricing depends more on material than almost anything else. Typical 2026 US ranges per square foot of wall coverage, materials only:
| Material | Per Sq Ft (materials) | Notes |
|---|---|---|
| PVC / vinyl shiplap | $1–$5 | Glue-up install, no rot, best baths & kitchens |
| Plywood shiplap | $2–$3 | Budget rustic look; needs paint |
| Pine shiplap | $2–$7 | The standard interior choice |
| Cedar shiplap | $2–$8 | Naturally rot-resistant; exterior capable |
| MDF shiplap | $2–$10 | Dead-straight, pre-primed — never in wet rooms |
| Hardwood shiplap | $2–$11 | Oak, poplar, cherry; stained finishes |
Installation labor runs $1 to $4 per square foot for a straightforward interior wall, with handyman rates of $50–$80 per hour and 8–16 hours typical for a large accent wall. Ceilings and exteriors price higher — scaffolding, thicker stock, and weather detailing all add labor. Removal of existing drywall or old siding, outlet box extenders, and trim to case the edges are the line items quotes most often leave out.
By project size, expect roughly $240–$1,700 installed for an 80–150 ft² accent wall, $450–$2,800 for a ceiling or small bathroom, and $1,200–$7,200 for an entire bedroom. When a supplier sells by the linear foot, convert before comparing: price per linear foot divided by (exposed face in inches ÷ 12) gives the equivalent square-foot price — a $4.80 linear-foot price on 5-inch shiplap is $11.52 per square foot, not a bargain.
Shiplap vs Drywall
The honest comparison: drywall is cheaper and faster; shiplap is a finish you never have to paint-perfect, and it survives dings that would dent gypsum:
| Factor | Shiplap | Drywall |
|---|---|---|
| Installed cost | $3–$11 / ft² | $1.50–$3.50 / ft² |
| Install speed | Fast — no taping, no mudding | Slower — 3 coats + sanding |
| Damage resistance | Wood dings, can be touched up | Dents and holes, needs patching |
| Wall thickness added | About ¾ in | Base layer |
| Wet rooms | PVC or cedar only | Moisture-resistant board available |
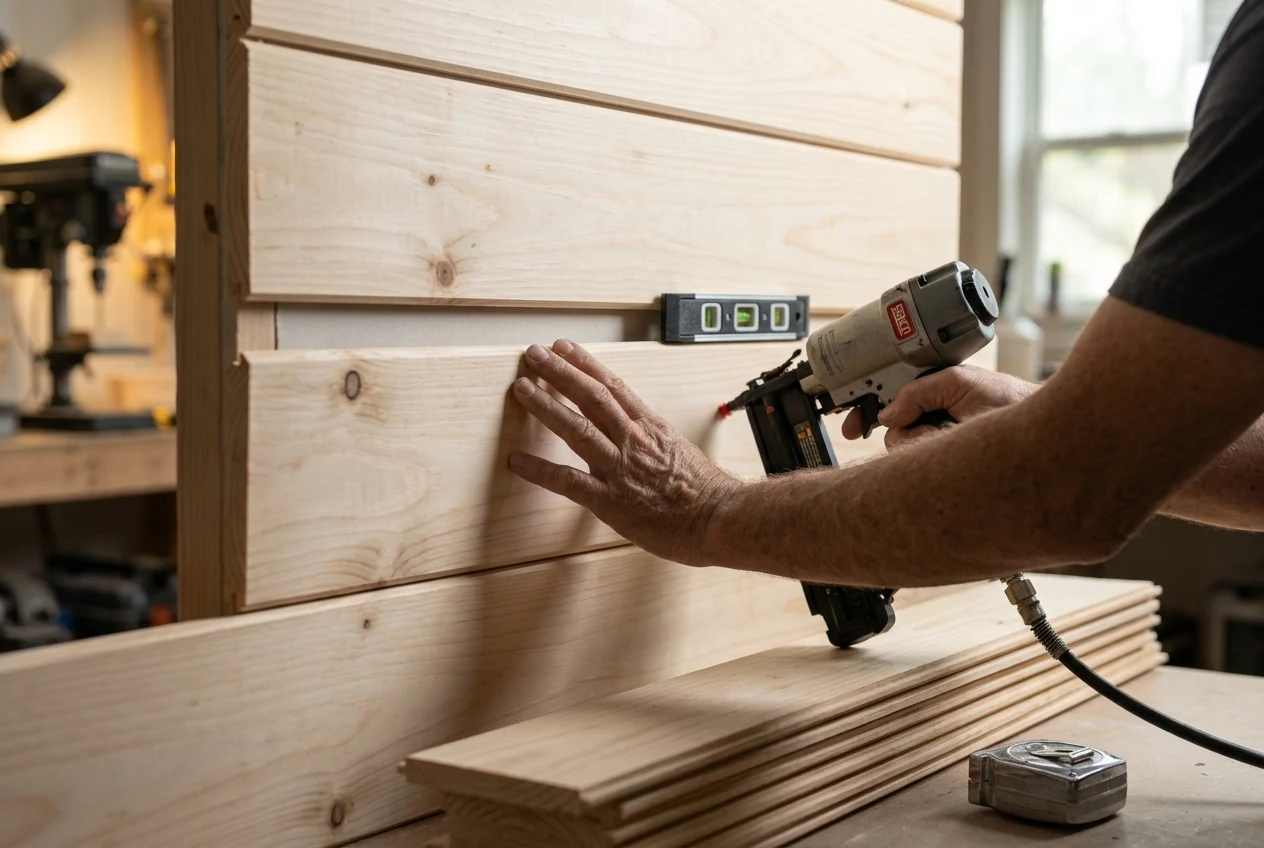
| DIY-friendliness | Very — a nail gun and a level | Messy finishing skill required |
As a rule of thumb, shiplap earns its premium in doses: an accent wall, wainscot run, or ceiling where the finish quality shows. Boarding every wall of a house multiplies a $3–$7 per-square-foot premium into thousands of dollars for a look drywall and good paint can approach at a third of the cost.
Installation Tips
- Acclimate first. Let the boards sit in the room for 48–72 hours before installing — wood that takes on the room's moisture after fastening gaps and buckles.
- Find the level line, not the floor. Floors and ceilings wave. Snap a level line for the first course and work up from it, trimming any wave into the top or bottom row where it is least visible.
- Hit studs every time. Mark stud lines before the first board — two nails per board per crossing. Vertical runs demand every end joint land on a stud, so map the layout before cutting anything.
- Stagger end joints. On long horizontal walls, alternate full boards and cut boards so end joints never stack in adjacent rows — the pattern looks stronger and the offcuts from row two become the starters of row three.
- Rip the last course, don't force it. If the final row measures under its full face width, rip the top boards to width on a table saw — the calculator's last-course trim figure gives the exact dimension.
- Leave expansion room. A 1/8-inch gap at the edges, hidden by baseboard or trim, lets the wall move with the seasons without buckling the field.
Common Shiplap Estimating Mistakes
- Ordering by nominal width. Buying for 6-inch coverage with a board that actually exposes 5 inches leaves you 20% short — the single most common mistake, and the reason this calculator starts from the exposed face.
- Forgetting that openings still cost boards. Deducting a window's area helps the count, but boards cut around openings rarely survive as useful stock — a wall with several windows deserves 15% waste, not 10%.
- Treating vertical like horizontal. Vertical runs multiply offcuts because every end joint must hit a stud; 10% waste on a vertical wall is a second trip to the lumberyard waiting to happen.
- Ignoring the last course. The top or bottom row rarely gets its full face width — a 0.2-row remainder means ripping a 1-inch strip, and forgetting it leaves you one short board and a ripped one you can't return.
- Buying the wrong stock length. Sixteen-foot boards on a 12-foot wall produce a 4-foot offcut per run — cheaper per foot, but costlier per board actually used. Match stock length to the wall, not to the unit price.
- Skipping the acclimation days. Boards installed tight and wet-on-site shrink in place, opening gaps the reveal can't hide. Two days of staging time protects the whole finish.
Frequently Asked Questions
Multiply wall width by height, subtract any windows and doors, divide by the coverage of one board (its exposed face in feet times its length), add waste, and round up. A 12 × 8 ft wall with 1×6 shiplap exposing 5 inches: 96 ft² ÷ 3.33 ft² per board = 28.8 boards — with 10% waste that is 32 boards to order.
A 1×8 is actually 7¼ inches wide, and a standard rabbet leaves an exposed face of about 6¾ inches. An 8-foot board covers roughly 4.5 ft², a 10-foot board about 5.6 ft², a 12-foot board about 6.75 ft². Always confirm the exposed face of the profile you are buying — nickel-gap reveals and deeper rabbets change it.
Materials run about $2–$7 per square foot for pine, plywood, and MDF, with cedar and hardwoods toward the top and PVC at the bottom. Labor adds $1–$4 per square foot, so a finished interior wall typically lands at $3–$11 per square foot installed — roughly $240–$1,700 for an 80–150 ft² accent wall.
The white horizontal farmhouse look of the mid-2010s has cooled, but the material has diversified rather than disappeared — wider boards, vertical runs, stained natural finishes, and shiplap ceilings are the current interpretations. It now reads best in doses: wainscot height, a single accent wall, or a ceiling.
Wainscot treatments typically stop at 36–48 inches, with 32–36 inches the most common height above the floor. Full height suits accent walls. Pick a height that lands on a whole course so the top board needs no rip, or plan a 1×4 cap to trim the last course cleanly.
No. Shiplap joins with a rabbet — each board laps the edge of the next and leaves a small reveal. Tongue and groove (car siding) joins with an interlocking tongue hidden inside the joint. They look similar installed, but coverage is measured differently: shiplap covers by exposed face after the lap, T&G by face plus tongue.
Yes — fasten straight to studs through the drywall, usually 16 or 24 inches on center. The boards add about ¾ inch of thickness, so electrical boxes need extenders and casings may need trimming. Over concrete or masonry, use furring strips and masonry fasteners instead.
About 10% for simple horizontal walls, 15% with several openings, and 15–20% for vertical runs where every end joint must land on a stud. Defect culling, staggered joints, and the odd split tongue all come out of that margin — ordering the bare calculated count is how walls end up one course short.
References
- Western Wood Products Association, “Finish Patterns — Pattern Allowable Sizes” — nominal vs dressed sizes and pattern coverage for shiplap and drop siding, wwpa.org
- American Wood Council, “National Design Specification (NDS) for Wood Construction” — fastening and framing basics behind the stud-spacing fastener model, awc.org
- ICC International Residential Code, Section R703 “Exterior Wall Covering” — exterior siding attachment requirements, codes.iccsafe.org
- USDA Forest Products Laboratory, “Wood Handbook: Wood as an Engineering Material” — moisture movement, acclimation, and dimensional change, fpl.fs.usda.gov
Disclaimer: The shiplap calculator results on this page are planning estimates only. Actual board counts vary with profile dimensions, wall squareness, stagger layout, and defect culling, and exposed face widths differ between mills and patterns. Measure your actual boards and confirm pricing with your supplier, and verify framing and fastening details against your local building code.
Wall sized and boards on order? Line up the paint for the finish coat or the drywall for the rest of the room — and get quotes from local finish carpenters near you.
Get Free Estimates