
ON THIS PAGE:
Why Acclimation Matters
Wood, bamboo, and laminate are hygroscopic: they take on or give off moisture until they match the air around them, and they change dimension while they do it. A pallet stored in a dry warehouse and installed the same afternoon into a humid coastal house is installed at the wrong moisture content. It will move to match the room whether you want it to or not, and it does most of that moving in the first month — peaking joints, opening gaps, and occasionally buckling a whole field.
Acclimation means letting the material reach equilibrium with the room's air while the HVAC runs at living conditions. Three rules make the difference between acclimation and storage:
- Open the boxes. Cross-stack the planks with air gaps so every face breathes. Sealed cartons in a warm room do almost nothing.
- Do it in the room. A garage, a sunroom, or an unheated porch has a different climate. The material has to sit where it will be installed.
- Run the HVAC. Normal living setpoints for the whole period. A closed house at 95°F is a kiln, not an acclimation room, and it will drive the material drier than the finished floor will ever be.

Acclimation is not the same as conditioning the house. If the drywall was just finished, the plaster is still releasing water and the indoor humidity is high. Wait for the building to dry before bringing flooring in, and never store cartons against an exterior wall on a slab, where condensation collects.
Acclimation Times by Material
The table below is a planning guide for how long the process usually takes. It is not a pass criterion — see the next section for the measurement that actually decides.
| Material | Typical time | What is happening | Watch for |
|---|---|---|---|
| Solid hardwood | 7–14 days | Board moisture equalizes with the room; width changes most across the grain | Verify with a meter, not the calendar |
| Engineered wood | 3–7 days | Stable plywood or HDF core still picks up surface moisture | Keep cartons flat, not leaning |
| Bamboo | 3–7 days | Behaves like engineered; strand bamboo is denser and slower | Follow the maker's moisture range |
| Laminate | 2–3 days | Core expands slightly with humidity; joints need stable dimension | Open cartons; do not stack against walls |
| Rigid-core vinyl (SPC/WPC) | 2–3 days | Temperature equalization, not humidity; cold planks are brittle | Winter deliveries need the full time |
| Ceramic and porcelain tile | 24 hours | Tile and mortar reach room temperature; thinset cures predictably | Frozen tile from a truck sweats |
| Carpet | 24 hours | Rolls relax and lose their shipping memory | Roll out face-up, not standing |
Two practical notes. First, longer is not automatically better: engineered wood left for six weeks in an abnormally dry room can shrink and then expand after installation, which is as bad as installing it too wet. Second, the clock only starts once the material is in the room with the HVAC running. Days spent in a cold garage count for nothing.
Moisture Content Decides, Not the Calendar
A moisture meter turns acclimation from a guess into a measurement. Take readings from several boards in different cartons, and from the subfloor in the same room, then compare.
- Wood flooring target: commonly 6 to 9 percent indoors, and within 2 to 4 percentage points of the subfloor. The gap between the two matters more than the absolute number.
- Wood subfloor: under about 12 percent on a pin meter. A reading that stays high points to a crawlspace or plumbing problem to fix before covering it.
- Equilibrium moisture content: the value wood eventually reaches for a given temperature and humidity. A house at 70°F and 45 percent RH settles around 8 percent; the same house at 25 percent winter RH settles near 5 percent.
- Record it. Photo the meter screen with the board in frame. If a warranty claim ever happens, that photo is the difference between a replacement and an argument.
For vinyl and tile the meter is irrelevant, but the slab is not. A slab that reads high will push moisture into the adhesive, the underlayment, or the grout, and the failure shows up months later as a loose plank or a hollow tile.
Subfloor Flatness Limits
Flatness is measured with a straightedge, not by eye and not with a level. A floor can tilt with the house and still be perfectly flat; what matters is whether a straightedge rocks or shows a gap.
| Product | Common flatness spec | Why it is strict |
|---|---|---|
| Laminate and rigid-core vinyl | 3/16 in over 10 ft (some allow 1/4 in) | Floating planks bridge dips and flex at the joints |
| Glue-down vinyl | 1/8 in over 10 ft | Thin material telegraphs every ridge |
| Nail-down hardwood | 1/8 in over 6 ft, or 3/16 in over 10 ft | Fasteners pull the board down and cup the edges |
| Ceramic and porcelain tile | 1/8 in over 10 ft, plus L/360 deflection | Thinset cannot bridge a hump without lippage |
| Natural stone tile | 1/8 in over 10 ft, plus L/720 deflection | Stone is rigid and cracks instead of flexing |
| Carpet | 1/4 in over 10 ft | Pad absorbs minor variation |
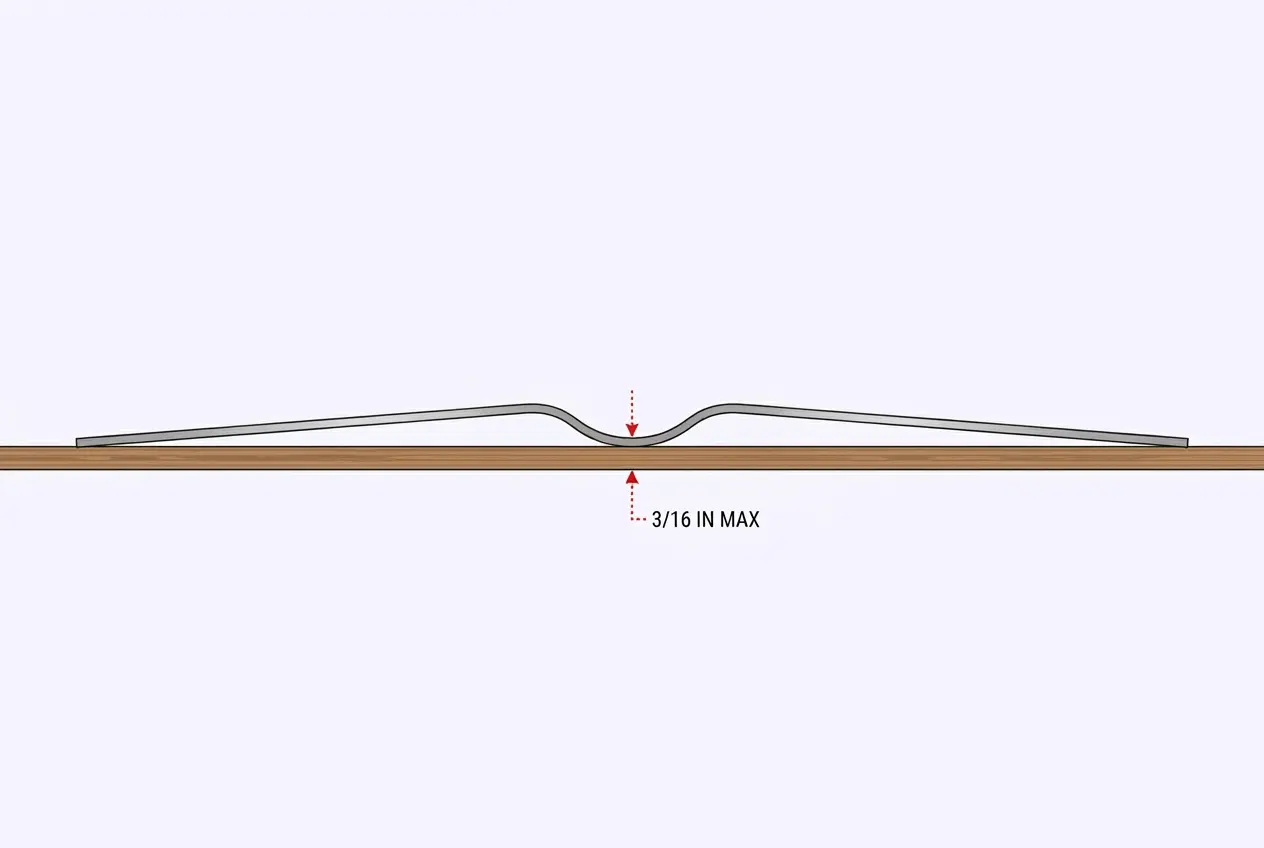
- Sweep a 6- or 8-foot straightedge across the floor in both directions, and along each wall. Mark highs and lows with a pencil.
- Fill lows with a cement-based patch or self-leveling underlayment mixed exactly per the bag. Feather the edges so there is no ridge.
- Knock down highs: plane or sand plywood ridges at panel seams; scrape dried mud and paint drips with a floor scraper.
- Recheck after patching. Self-leveler gets poured once and checked twice, because a second pour over a bad first one costs more than the first one done right.
Deflection is a separate question from flatness. A floor that passes the straightedge test can still flex underfoot if the joists are undersized or overspanned, and tile will crack over a bouncy floor no matter how flat it is. If the floor moves when you jump on it, that is a framing conversation before it is a flooring one.
Testing a Concrete Slab
Moisture under a finished floor has nowhere to go but up into the floor. Test before installation, record the numbers, and keep them with the job file.
| Test | What it measures | Typical acceptance | Cost |
|---|---|---|---|
| Plastic sheet (poly) test | Whether vapor is moving through the slab at all | No condensation or dark patch after 24 hours | Free |
| Calcium chloride, ASTM F1869 | Emission rate in lb/1,000 sq ft/24 hr | Commonly 3–5 lb for vinyl, up to 5–7 lb for some plank | $50–$150 per test |
| In-situ RH probe, ASTM F2170 | Relative humidity inside the slab | Commonly 75–80% RH or lower | $150–$400 per set of probes |
| pH test | Alkalinity of the slab surface | Typically below 10 for adhesives | $10–$30 |
The plastic sheet test is the free site check, and it is not a substitute for a measured test on a job where the flooring warranty matters. A slab poured three months ago is still curing; concrete keeps releasing water for a year or more, which is why a vapor barrier under the floor is standard practice rather than a premium upgrade.
Surface moisture and slab moisture are different problems. A damp-feeling slab in a humid basement may be condensing room air rather than wicking water, and the fix is dehumidification and insulation, not another coat of sealer.
Repair or Replace the Subfloor
You rarely need a whole new subfloor. You need a sound one: no soft panels, no squeaks, no gaps that telegraph through the finished floor.
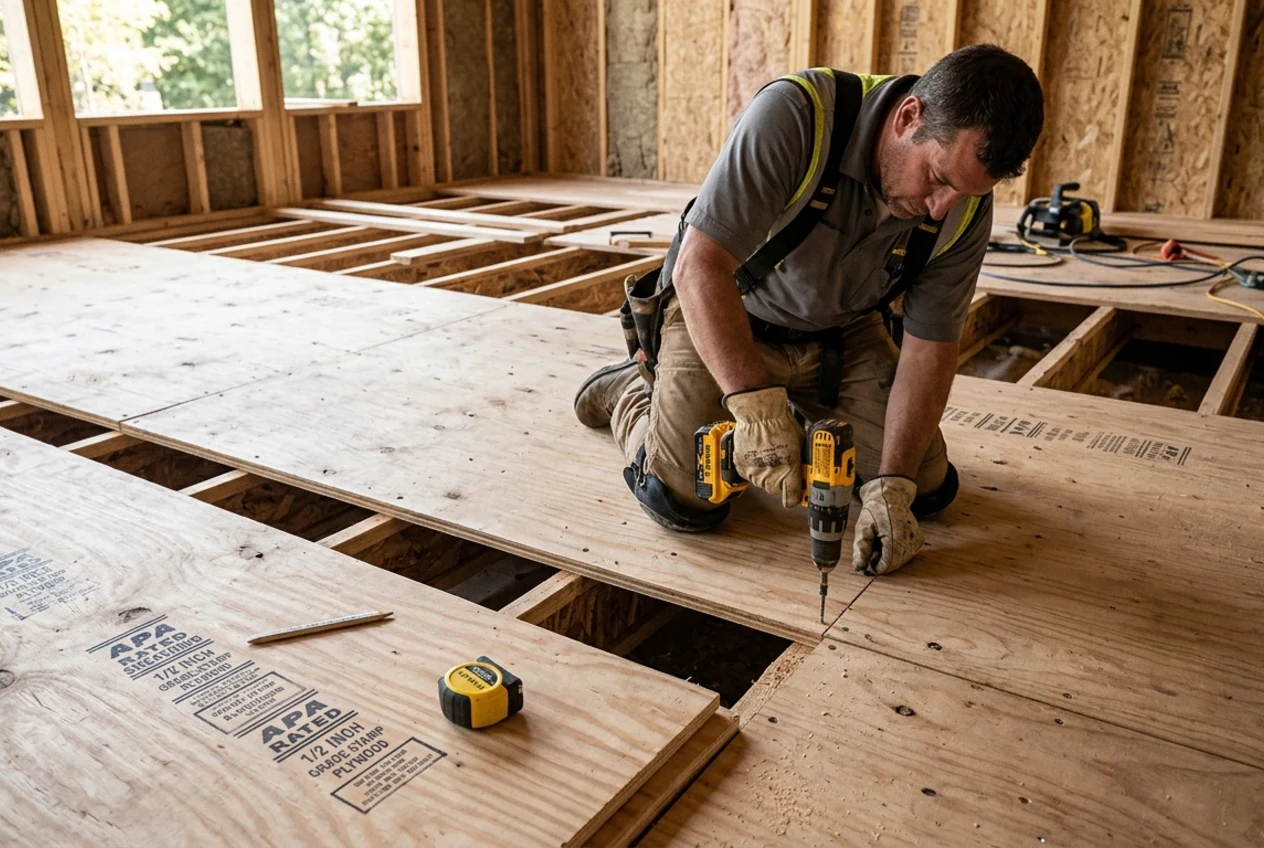
- Replace any panel that is swollen, crumbly, or soft underfoot — typically around toilets, dishwashers, pet bowls, and old leak paths. Cut back to the panel edges or joist centers and fit matching-thickness tongue-and-groove sheathing.
- Re-fasten the whole field. Screws every 6 to 8 inches into joists silence squeaks better than nails, and a screw pattern across the panel field helps where joist locations are unknown.
- Fill panel gaps wider than 1/8 inch with patching compound so they do not show as lines through vinyl or thin laminate.
- Check the thickness. Most wood subfloors are 3/4 inch tongue-and-groove; some older homes have 5/8 inch or board sheathing. Adding a 1/4 or 3/8 inch underlayment panel is a legitimate way to reach the required stiffness for tile.
- Vacuum twice. Debris left under a floating floor becomes audible forever, and grit under a foam pad grinds holes in it.
Vapor Barriers and Underlayment
Three layers are easy to confuse, and putting them in the wrong order is a common warranty problem.
- Vapor barrier: 6-mil or thicker polyethylene over a concrete slab, lapped 6 inches and taped. It controls moisture, not sound or cushioning.
- Underlayment: foam, cork, rubber, or a combination pad. It provides cushioning and sound control, and in some products it carries the vapor barrier as a laminated film.
- Backer board or uncoupling membrane: the tile layer. It is not a soft pad and cannot be replaced by one.
Most rigid-core planks now ship with an attached pad. Stacking a separate foam underlayment under an attached pad over-compresses the locking joint and can void the warranty, so read the instruction sheet before buying the roll. The flooring underlayment guide covers which product suits which floor.
Fitting Prep Into the Schedule
Prep is the part of the job that gets compressed when the schedule slips, and compressing it is how failures happen. A realistic sequence for a 480-square-foot installation:
| Day | Work | Who |
|---|---|---|
| Day 0 | Deliver material; open cartons; cross-stack in the room; HVAC on | Homeowner or installer |
| Day 0–1 | Tear out old floor; inspect and repair subfloor; screw down | Installer |
| Day 1–2 | Grind highs; patch lows; let compound cure per bag | Installer |
| Day 2 | Straightedge check; moisture readings; photo record | Installer |
| Day 2–3 | Vapor barrier and underlayment; layout lines; door undercut | Installer |
| Day 3 | Installation begins with material at room condition | Installer |
The material's clock and the substrate's clock run at the same time. That is why acclimation is not a delay — it overlaps with demolition and patching, and the only time it actually costs a day is when nobody started it early.
Pre-Install Checklist
- Cartons opened and cross-stacked in the installation room
- HVAC running at normal living setpoints for the full acclimation period
- Moisture readings taken for flooring and subfloor, and photographed
- Flatness verified with a straightedge in both directions; lows filled, highs planed
- Squeaks screwed off and damaged panels replaced
- Slab tested for moisture; vapor barrier specified if required
- Doors undercut or scheduled, with clearance for the new floor thickness
- Baseboard and trim removal planned; transition profiles ordered
- Layout direction and starting wall decided
- Underlayment and fasteners on site and counted
When the prep is finished, measure the rooms and run the quantities in the Flooring Calculator before ordering material — the measurement is only reliable once the substrate tells you how much build-up the job will need.
Worked Example: 480 Square Feet
A 480-square-foot main floor over a plywood subfloor, with 3/4 inch engineered oak in 6-inch planks. The homeowner has a two-week window and wants to know what the prep adds.
- Acclimation: 5 days in the room with the HVAC running. Meter reads 8.2 percent on the planks and 9.6 percent on the subfloor — inside the 2-to-4-point gap.
- Flatness check: a 10-foot straightedge finds a 1/4 inch dip at the hallway junction and a 3/16 inch ridge at a panel seam. The dip gets two bags of patch (about $70), the ridge gets planed.
- Squeak repair: roughly 300 screws and two hours, about $35 in fasteners.
- Underlayment: 500 square feet of 3 mm acoustic foam at $0.45 per square foot, about $225, allowing 5 percent for cuts.
- Prep total: about $330 in material and one day of labor, against roughly $6,000 of flooring material.
Five percent of the material value, spent before installation, is what protects the warranty. The same job with a 1/4 inch dip left in place usually shows a clicking joint within the first heating season, and fixing it later means removing and replacing the affected field — often 100 square feet or more.
Frequently Asked Questions
References
- National Wood Flooring Association, Installation Guidelines: Acclimation and Moisture Content — equilibrium moisture content and subfloor tolerances, nwfa.org
- North American Laminate Flooring Association, Installation Guidelines — acclimation, expansion gaps, and substrate flatness, nalfa.com
- Tile Council of North America, TCNA Handbook for Ceramic, Glass, and Stone Tile Installation — substrate flatness and deflection requirements, tcnatile.com
- ASTM International, F1869 Standard Test Method for Measuring Moisture Vapor Emission Rate of Concrete Subfloor and F2170 Standard Test Method for Determining Relative Humidity in Concrete Floor Slabs, astm.org
- APA – The Engineered Wood Association, Plywood Subflooring and Underlayment Guidance — panel thickness, span ratings, and fastener schedules, apawood.org
- Building Science Corporation, Moisture Control for Slabs and Crawlspaces — vapor retarders, slab drying, and below-grade assemblies, buildingscience.com
Disclaimer: This guide explains general acclimation and subfloor preparation practice for residential flooring. It is not an installation specification or a warranty statement. Required acclimation periods, moisture limits, and flatness tolerances vary by product, climate, and manufacturer, and local building codes govern subfloor and vapor retarder assemblies. Follow the installation instructions supplied with your flooring and confirm structural or moisture conditions with a qualified installer before proceeding.