
ON THIS PAGE:
What Grout Does
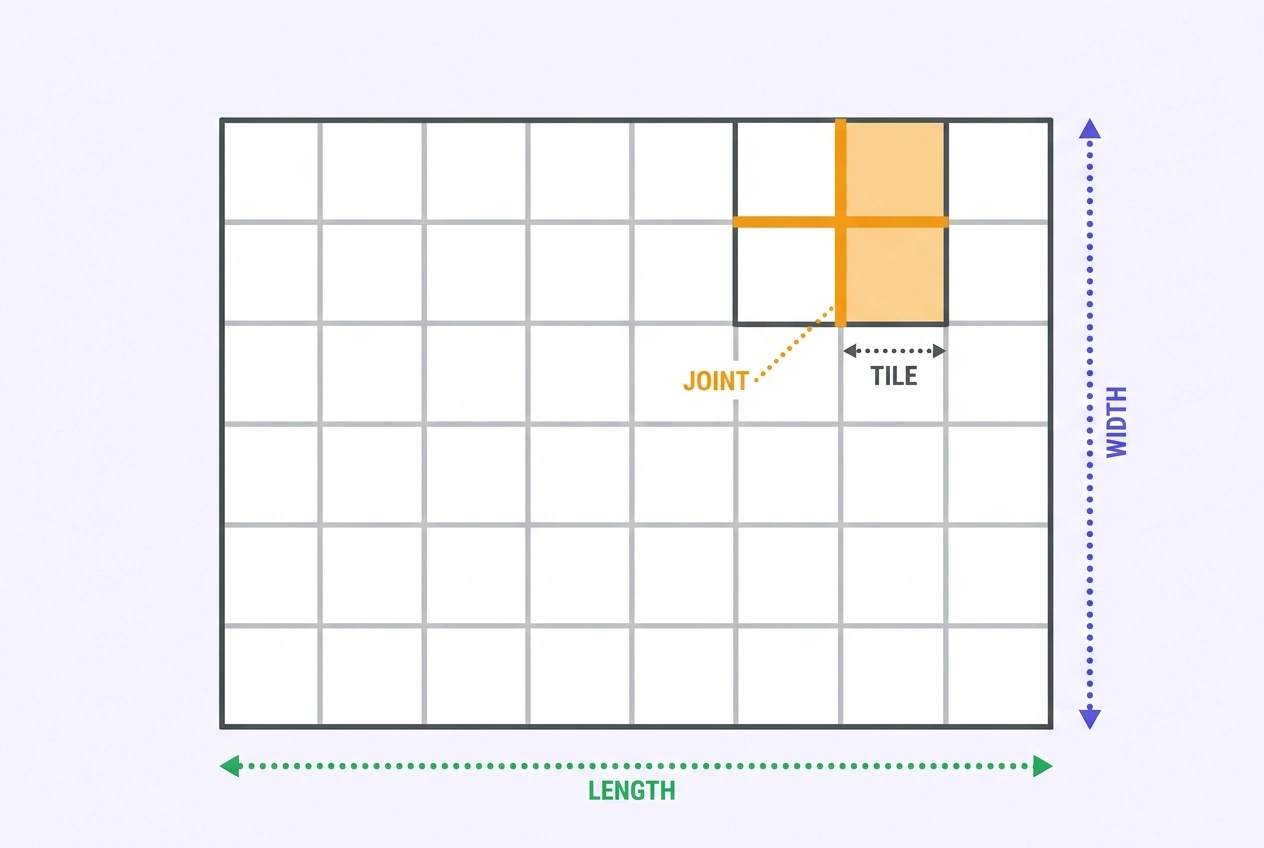
Grout fills the joints between tiles. It is not the adhesive — the thinset beneath the tile carries the load — but it does three jobs that matter:
- Seals the gaps. Joints without grout collect dirt, water, and crumbs, and water reaching the substrate is how tile assemblies fail from underneath.
- Supports tile edges. Grout transfers some load between adjacent tiles, which reduces chipping at edges and corners.
- Defines the look. Joint width and colour change how a floor reads more than most people expect — the same tile can look seamless, grid-like, or busy.
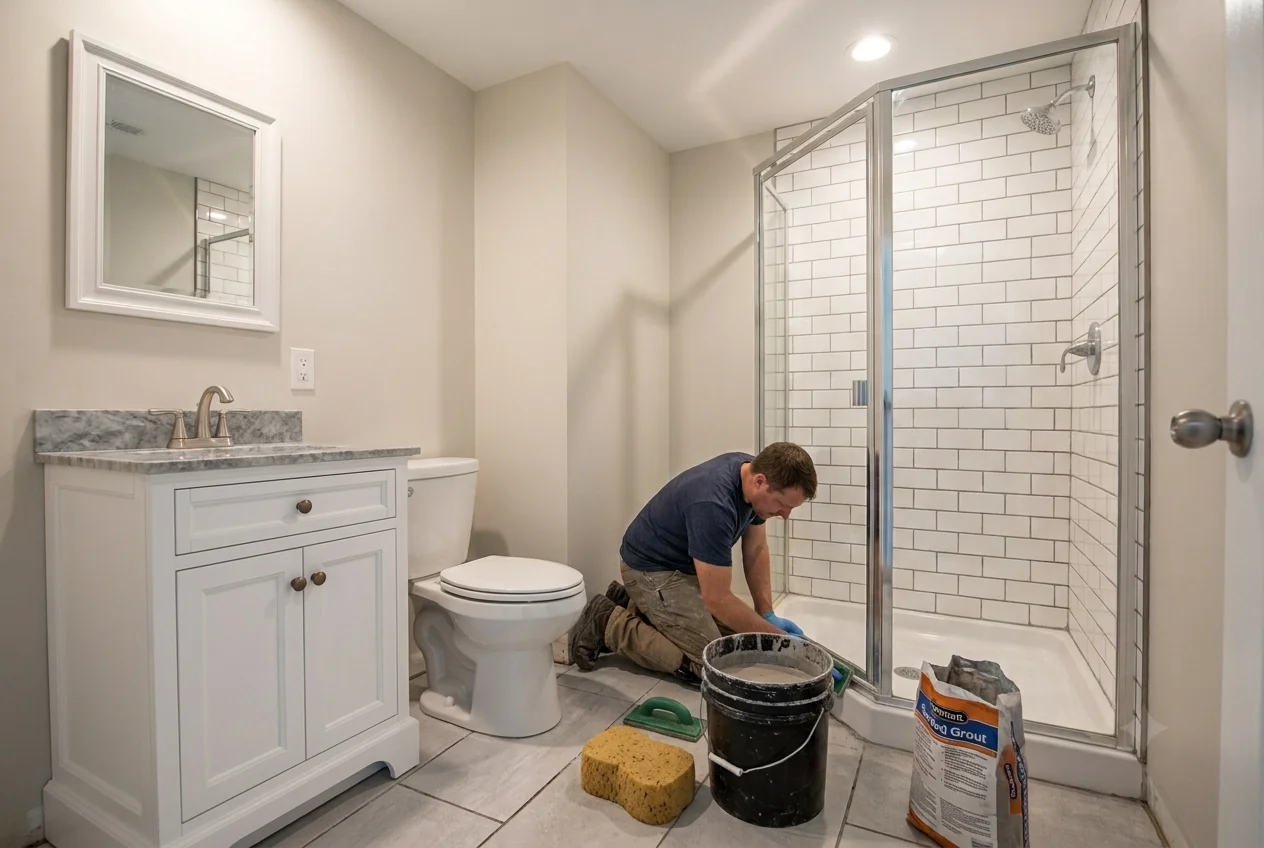
Grout is also the part of a tile job that is most often done too fast. Rushing the cleanup leaves haze on the tile face; mixing too wet causes shrinkage cracks; skipping the sponge stage leaves joints uneven and weak at the surface.
Grout Types Compared
| Type | Best for | Sealing | Cost | Watch outs |
|---|---|---|---|---|
| Cement, sanded | Joints 1/8 in and wider; most floors | Recommended every 1–3 years | $ | Can scratch polished stone; gritty texture |
| Cement, unsanded | Joints under 1/8 in; polished stone | Recommended | $ | Shrinks and cracks in wide joints |
| Epoxy (two- or three-part) | Showers, kitchens, stain-critical floors | Never needed | $$$ | Short pot life; hazy cleanup; unforgiving |
| Premixed (ready-to-use) | Small jobs, walls, tight-joint tile | Usually not | $$ | Too soft for wide floor joints or heavy traffic |
| Urethane | Flexible joints, exterior and freeze-thaw | No | $$$ | Limited colour range in some markets |
For a typical residential floor — 12-inch porcelain with 1/8 to 3/16 inch joints — polymer-modified sanded cement grout is the workhorse: strong, forgiving, inexpensive, and available in every colour. Epoxy is a special case rather than an upgrade; the section below covers when it earns its price.
Sanded vs Unsanded
| Property | Sanded | Unsanded |
|---|---|---|
| Joint width | 1/8 in and wider | Under 1/8 in |
| Shrinkage | Low; sand provides body | Higher in wide joints |
| Surface | Textured, slightly grainy | Smooth |
| Polished stone | Can scratch | Safe |
| Vertical joints | Harder to pack in narrow walls | Easier in tight joints |
The rule exists for a physical reason. Sanded grout needs enough joint width for the aggregate to pack and lock; forced into a 1/16 inch joint, it bridges and leaves voids. Unsanded grout has no aggregate to hold volume, so in a 1/4 inch joint it shrinks as it cures and cracks along the centreline.
If a joint measures exactly 1/8 inch, either product can work — check the range printed on the bag, because formulations differ. On a floor with mixed joint sizes, which happens around a border or a mosaic feature, use the product that suits the widest joint and tape off the narrow ones rather than compromising both.
Choosing Joint Width
Joint width is a design and engineering decision made before the first tile is set. The tile's edge quality sets the lower limit, and movement tolerance sets the upper.
| Tile type | Typical joint | Why |
|---|---|---|
| Rectified porcelain | 1/16–1/8 in | Edges are cut to exact size after firing; needs a very flat substrate |
| Standard pressed tile | 3/16–1/4 in | Size varies within the allowed range; the joint absorbs it |
| Large-format tile | 1/8–3/16 in | Narrow looks better, but lippage becomes visible |
| Handmade, zellige, rustic | 3/8 in and wider | Wavy edges are the point; they need room |
| Outdoor and heated floors | 1/4 in or wider | The assembly moves more with temperature |
| Mosaic sheets | 1/16–1/8 in | Joint pattern is set by the sheet backing |
Use spacers — the same size everywhere, snapped in as you go. Consistent joints are the single most visible marker of professional tile work, and they are also the cheapest: a bag of spacers costs less than one replacement tile. Where a floor meets a wall, a cabinet, or another floor, that is a movement joint, not a grout joint; it gets a flexible sealant rather than cement grout.
Choosing Grout Color
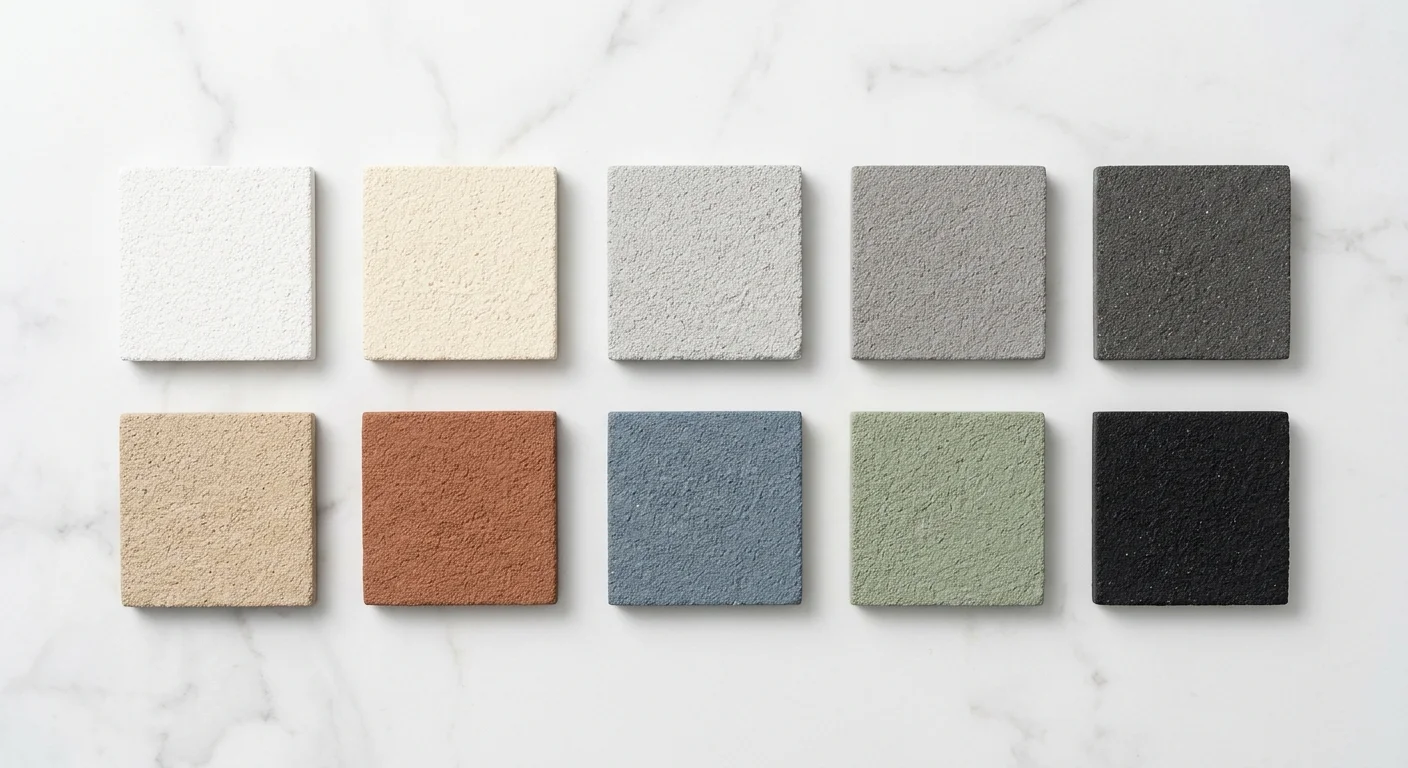
Grout colour changes the floor more than the tile does in many installations. Three strategies cover almost every project:
- Matched (grout close to tile colour): the floor reads as one plane, joints disappear, and small setting irregularities hide. The safest choice for large areas and for DIY work.
- Contrasting: each tile pops and patterns such as herringbone or basketweave are emphasised — but every bit of lippage and every wobble shows too. Best with rectified tile and expert installation.
- Mid-tone practical: light grey, warm grey, taupe. Dirt and water spots show least between cleanings. Pure white and near-black are the two hardest colours to keep looking fresh.
Buy samples and grout a scrap board, or at minimum view the manufacturer's colour chart under the lighting of the actual room. Grout dries a shade or two lighter than it looks wet in the bucket, and showroom light differs from a north-facing kitchen. On a shower wall, a lighter grout shows soap scum; on a kitchen floor, a mid-tone hides crumbs better than either extreme.
How Much Grout You Need
Grout consumption depends on four variables: tile length and width, joint width, joint depth, and the tile's thickness. The industry estimate for pounds of grout per square foot is:
lb per sq ft = (A + B) × C × D × 1.6 ÷ (A × B)
Where A and B are the tile length and width in inches, C is the joint width in inches, and D is the joint depth in inches — roughly the tile thickness minus about 1/8 inch of thinset coverage beneath.
| Tile size | Joint width | Joint depth | lb per sq ft | 25 lb bag covers |
|---|---|---|---|---|
| 12 × 12 in | 1/8 in | 1/4 in | ≈ 0.13 | ≈ 190 sq ft |
| 12 × 24 in | 1/8 in | 1/4 in | ≈ 0.10 | ≈ 250 sq ft |
| 6 × 6 in | 3/16 in | 1/4 in | ≈ 0.26 | ≈ 95 sq ft |
| 4 × 4 in | 1/4 in | 1/4 in | ≈ 0.53 | ≈ 47 sq ft |
| 3 × 6 in subway | 1/8 in | 1/4 in | ≈ 0.40 | ≈ 62 sq ft |
Size swings dominate. Halving the tile size roughly doubles the joint inches per square foot, and the grout quantity roughly with it. Manufacturer coverage charts count the full tile perimeter and are slightly conservative, which is why they are the better guide when they disagree with a hand calculation.
Buy one spare bag of the same product and colour, keep the receipt, and record the batch number. Grout colour varies between production runs, and a patch repair two years later with a different batch is visible across a whole room. The Grout Calculator and the Tile Calculator both handle this arithmetic for your tile size.
Mixing and Application
- Measure water, do not pour by eye. Too much water is the most common cause of weak, powdery, shrinking grout. Use the ratio on the bag and add water to powder, not the reverse.
- Slake, then remix. Most cement grouts need 5 to 10 minutes of resting after the first mix, then a short remix before use. Skipping this step leaves dry pockets.
- Work in small batches. A batch that sits past its pot life stiffens and must be discarded, not thinned with water.
- Pack the joints fully. A rubber float at 45 degrees, worked diagonally across the joints, fills them completely. A joint filled only at the surface crumbles within a year.
- Clean in two stages. A damp sponge after 15 to 30 minutes shapes the joint; a second pass with clean water removes haze. Change the water often — a dirty sponge smears cement into the tile face.
- Do not over-wash. Too much sponge work pulls cement out of the joint and leaves a sandy surface.
Sealing and Maintenance
A penetrating sealer slows staining; it does not make cement grout waterproof. That distinction matters, because a sealer that promises waterproofing is promising something cement grout cannot deliver.
- Wait for cure. Typically 48 to 72 hours before sealing, longer in cool or humid conditions. Sealing damp grout traps moisture.
- Apply thin and wipe. A penetrating sealer goes on with a small applicator along the joints, then the tile face is wiped before it dries. Puddles become a film that dulls the tile.
- Reseal on a schedule. Every one to three years in traffic areas, annually in showers. Test by dripping water on a joint: if it beads, the sealer is still working; if it darkens and soaks in, it is time.
- Clean with the right product. pH-neutral cleaner for routine work; avoid acid cleaners on cement grout, because they dissolve the cement. Epoxy grout tolerates more, but abrasive pads still dull it.
Epoxy Grout in Wet Areas
Epoxy grout is impervious, does not need sealing, resists harsh cleaners, and holds colour far longer than cement grout. It is also the least forgiving product on the shelf.
| Factor | Cement grout | Epoxy grout |
|---|---|---|
| Water absorption | Absorbs; sealer slows it | Effectively none |
| Sealing | Every 1–3 years | Never |
| Material cost | $ | 2–3× cement |
| Working time | 30–60 min per batch | 20–45 min, hard stop |
| Cleanup | Water and sponge | Must be immediate; cured epoxy is permanent |
| Best use | Floors, walls, most rooms | Showers, commercial kitchens, stain-critical floors |
In a shower, epoxy is genuinely worth the premium: cement grout in a shower is wet for part of every day, and sealer life in that environment is measured in months rather than years. On a living room floor, cement grout with a sealer is the better value, and it is far easier to repair.
Why Grout Fails
| Symptom | Likely cause | Fix |
|---|---|---|
| Hairline cracks along joints | Movement in the substrate or missing movement joints | Remove and regrout with a flexible product; add movement joints |
| Powdery, sandy surface | Too much water in the mix, or over-washing | Remove the weak layer and regrout |
| Shrinkage cracks in wide joints | Unsanded grout used where sanded was required | Regrout with sanded grout |
| White powder on the surface | Efflorescence — salts migrating with moisture | Dry-brush, then address the water source |
| Dark patches that will not clean | Mould in the joint, usually a wet area with poor ventilation | Clean, dry the area, improve ventilation, reseal |
| Grout falling out in a shower | Water behind the tile; failed waterproofing | This is a waterproofing repair, not a grout repair |
The last row is the one homeowners miss. Grout falling out of a shower wall is a symptom of water behind the tile, and regrouting alone will not fix it. If the substrate is wet, the repair is a waterproofing repair, and the installed vs material cost guide explains why that line item is labour rather than material.
Frequently Asked Questions
References
- Tile Council of North America, TCNA Handbook for Ceramic, Glass, and Stone Tile Installation — joint width, grout selection, and movement joints, tcnatile.com
- American National Standards Institute / TCNA, ANSI A108 Installation of Ceramic Tile — grout and substrate requirements, ansi.org
- ISO, ISO 13007 Ceramic Tiles: Grouts and Adhesives — classification and performance of cementitious and reaction-resin grouts, iso.org
- ASTM International, C1095 Standard Test Method for Water Absorption of Tile and related tile standards, astm.org
- Centers for Disease Control and Prevention, Mold Cleanup and Moisture Control — wet-area ventilation and mould prevention, cdc.gov/mold
- U.S. Environmental Protection Agency, Indoor Air Quality: Volatile Organic Compounds — sealant and adhesive emissions, epa.gov
Disclaimer: This guide explains common tile grout selection and application practice for general planning. It is not an installation standard, a product specification, or a waterproofing design. Grout performance depends on the product family, joint geometry, substrate movement, and site conditions, and wet areas require a waterproofing assembly beneath the tile rather than grout alone. Follow the manufacturer's instructions and the applicable tile installation standard for your project.